

使用 Hugging Face 的Pipeline來實現本地端文字轉圖片(Text-to-Image),進行圖片生成
日期:2024-05-27 01:36:28
使用 Hugging Face 的 Pipeline 在本地端生成圖片的教學,介紹如何透過 Stable Diffusion 模型將文字提示轉換為圖片。
本文以文字轉圖片為例,教導大家 Hugging Face 的 Pipeline。
此文章也有發表在Medium上 >>
資料集
一個專門使用 Hugging Face 和 Langchain 的 GitHub repo。
本文是使用到裡面的 diffuser.py 檔案。
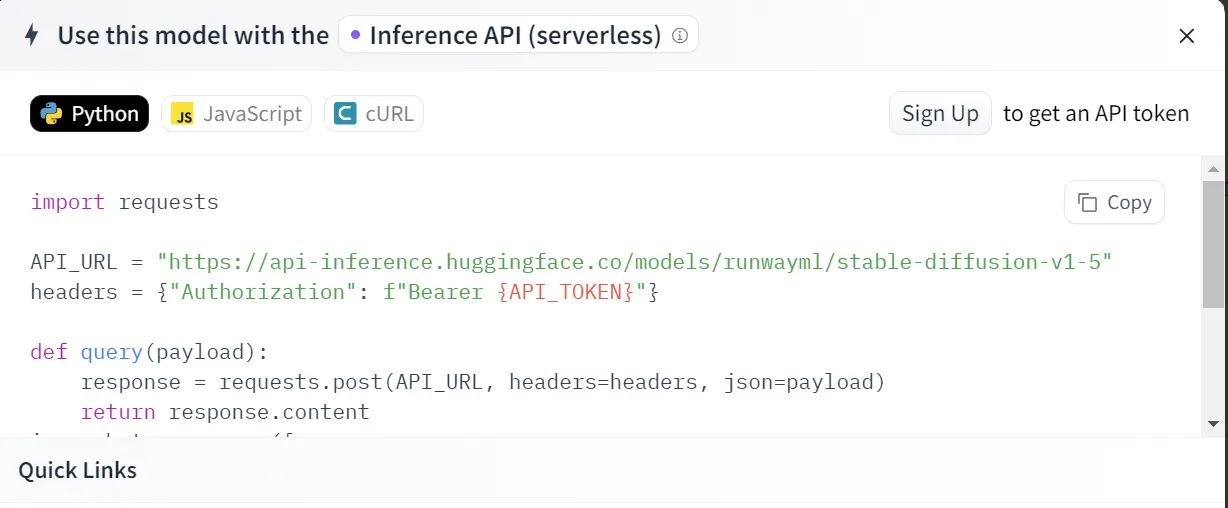
Hugging Face 的使用主要有兩種方法
- 使用 Serverless Inference API,需要註冊登入來產生 API_TOKEN。好處是可以線上執行,不會佔據本地資源,但會有速率限制,而且未來有可能會限制越來越多(?)
- 本文是使用地端的方式來生成圖片,所以如果你沒有 Hugging Face 的帳號,也可以無痛執行~ 但缺點就是會佔據一些本地資源。
Hugging Face 已經把很多模型幫大家分類完成,因此可以從裡面挑取自己想要使用的模型即可!
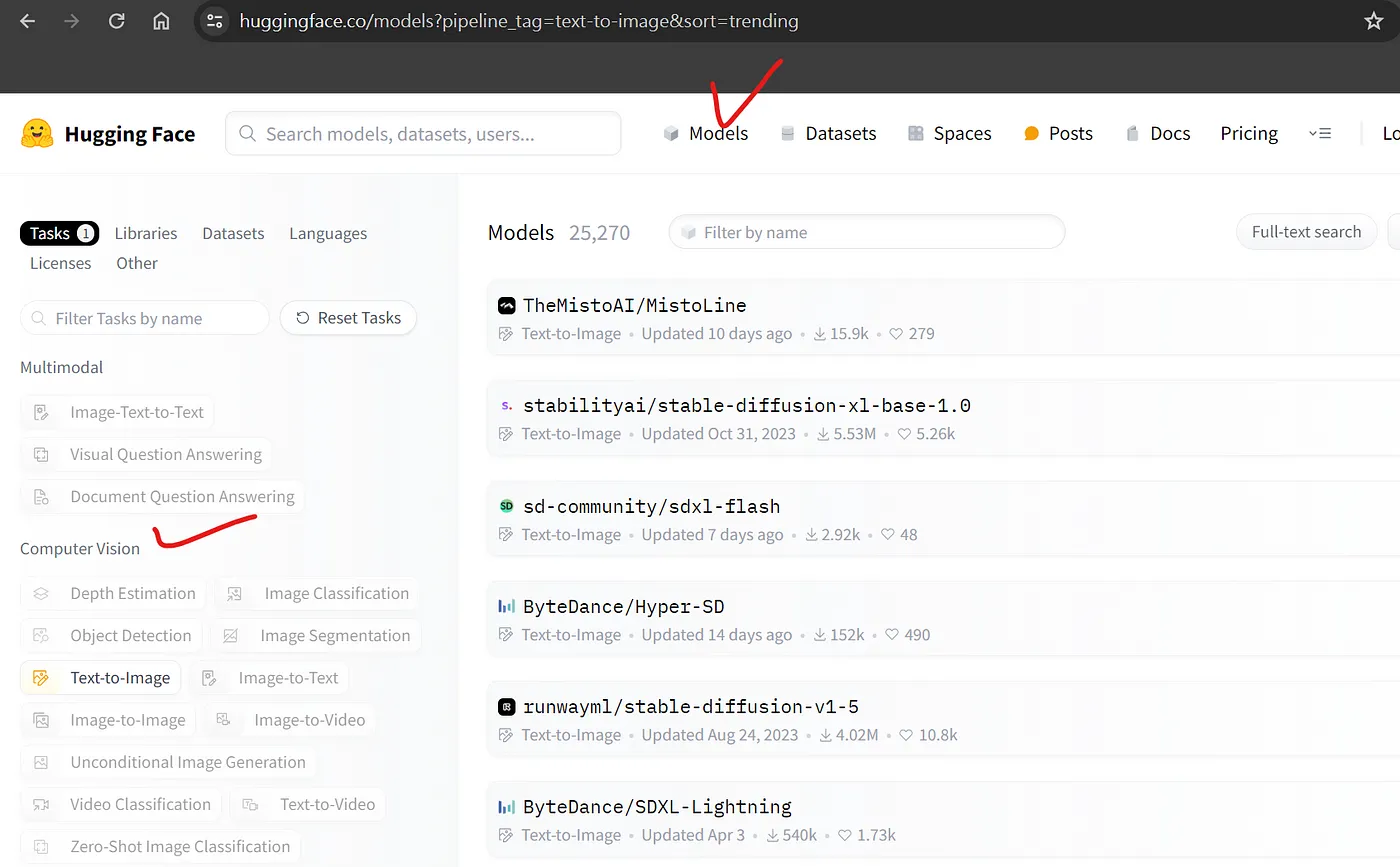
本文是挑選 runwayml/stable-diffusion-v1-5 來使用。
程式碼講解教學
1. 套件導入
from diffusers import StableDiffusionPipeline
import torch
import argparse
比較多人想到 Hugging Face 可能會想到 Transformers,但其實還有很多其他的套件,像是 diffusers 也是他們家的。
2. 定義使用模型的主要函式
# 定義 main 函數,接收一個參數 output_filename
def main(prompt, output_filename):
    # 設定模型 ID
    model_id = "runwayml/stable-diffusion-v1-5"

    # 從預訓練模型載入 Stable Diffusion 管道
    pipe = StableDiffusionPipeline.from_pretrained(model_id, torch_dtype=torch.float32)
    pipe = pipe.to("cpu")  # 使用 CPU 運行

    # 生成圖像
    image = pipe(prompt).images[0]

    # 將圖像保存到指定的文件名
    image.save(output_filename)
如果你有 GPU,可以改成使用 GPU。
pipe = pipe.to("cpu")
像是nvidia類的,會需要設定cuda,詳情未來有需要可以教導大家:)
# 生成圖像
image = pipe(prompt).images[0]

# 將圖像保存到指定的文件名
image.save(output_filename)
這邊的output_filename和prompt都還沒有定義,我們會在初始函式中定義。
3. 設定初始函式
# 檢查程式是否以主程式運行
if __name__ == "__main__":
    # 創建參數解析器
    parser = argparse.ArgumentParser(description="Generate an image with Stable Diffusion and save it.")

    # 添加 --prompt 參數,用於指定生成圖像的提示詞
    parser.add_argument("--prompt", type=str, required=True, help="The prompt for generating the image.")
    # 添加 --output 參數,用於指定輸出文件名
    parser.add_argument("--output", type=str, required=True, help="The output filename for the generated image.")

    # 解析命令列參數
    args = parser.parse_args()

    # 呼叫 main 函數並傳遞解析到的輸出文件名
    main(args.prompt, args.output)
使用 argparse 的好處是,你可以直接在命令行輸入想要的變數,而不需要在程式碼中更改變數的值。
main(args.prompt, args.output)
使用這行程式把值傳到main函式中。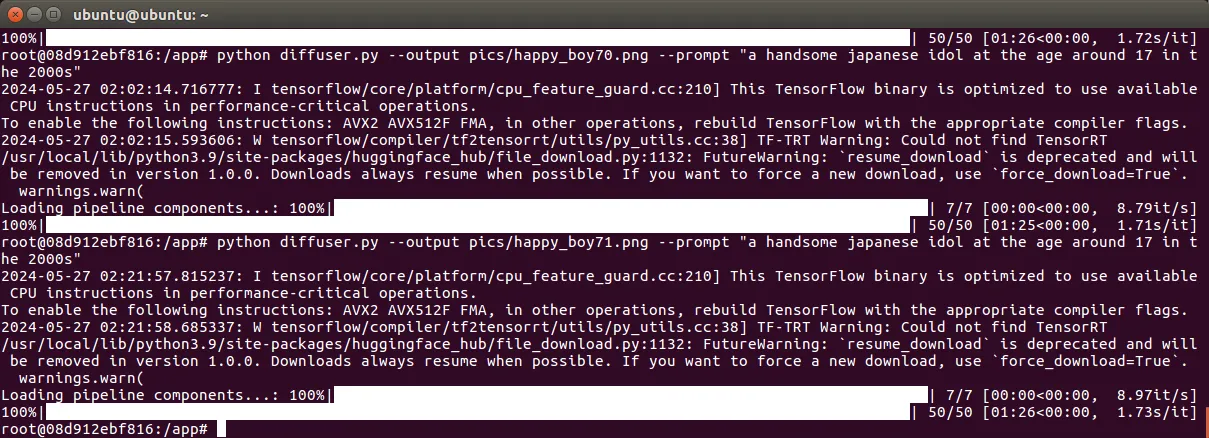
4. 程式執行的命令介紹
python diffuser.py --output 輸入圖片名稱.png --prompt "輸入你想要的prompt"
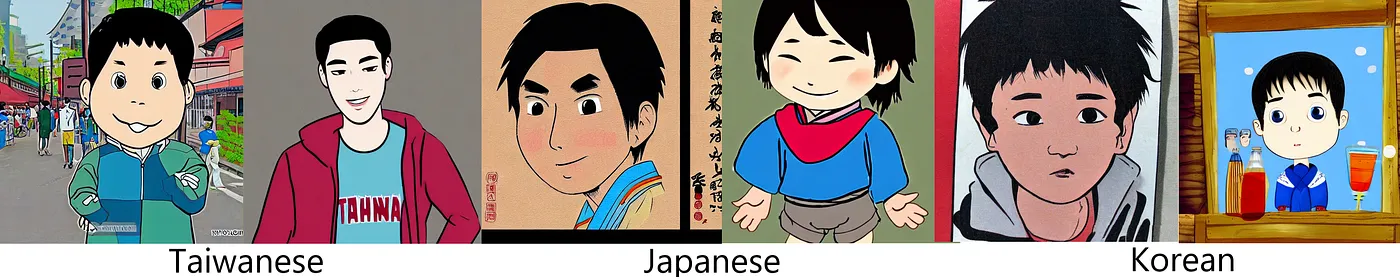
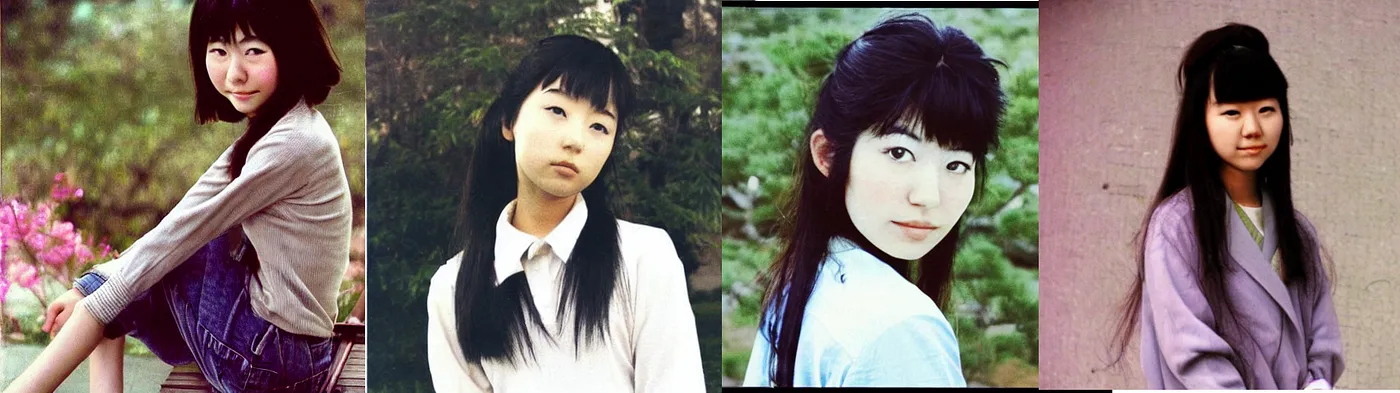
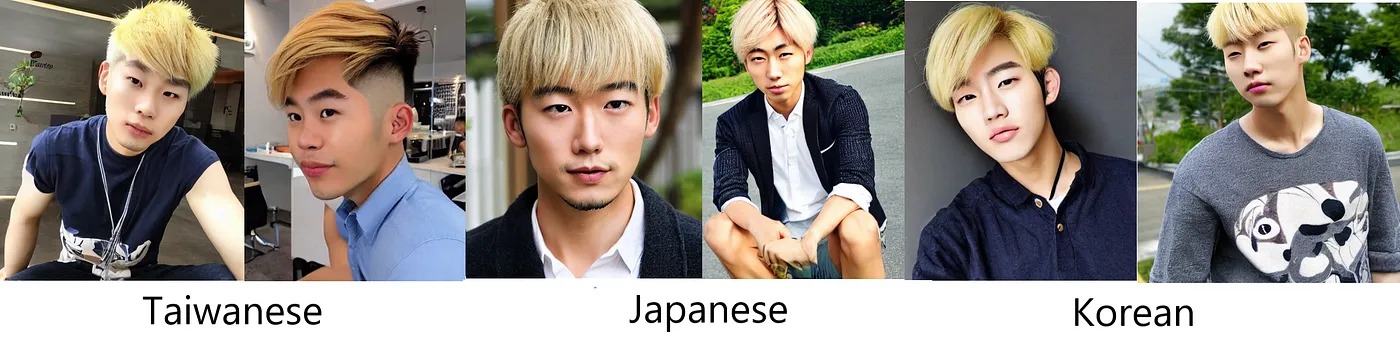
5. 成果
- "a cartoon of Taiwanese boy"
- "a cartoon of Japanese boy"
- "a cartoon of Korean boy"
- "a handsome Japanese boy at the age around 17 in the '90s"

- "a beautiful Japanese girl at the age around 17 in the '80s"
- "a Taiwanese handsome boy with blonde hair"
- "a Japanese handsome boy with blonde hair"
- "a Korean handsome boy with blonde hair"
- "a Beautiful Japanese idol at the age around 17 in the '80s"

- "a handsome Japanese idol at the age around 17 in the '90s"

喜歡 Weiberson 的文章嗎?在這裡留下你的評論!本留言區支援 Markdown 語法。